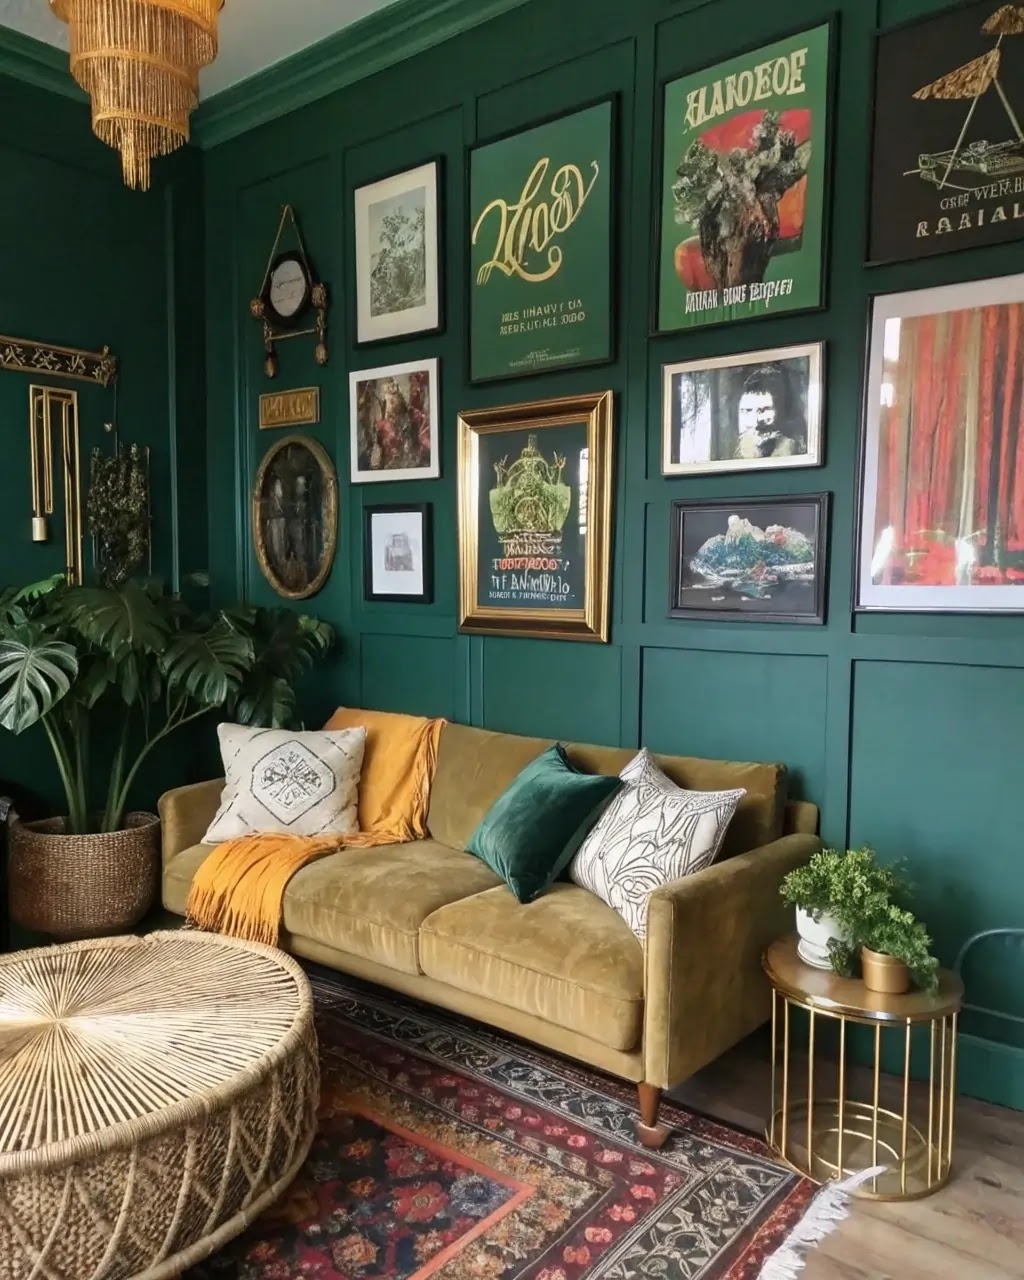
DIY wall art is a fantastic way to bring personality and charm into your living space. Creating your own decor pieces is not only cost-effective, but also a great way to add a personal touch to your home. Whether you are a beginner or an experienced crafter, these 10 easy projects will help you transform your walls beautifully!
1. Abstract Canvas Art
Materials Needed:
- Canvas
- Acrylic paint
- Paintbrushes or sponges
Steps:
- Choose a color palette that matches your decor.
- Use a sponge or brush to apply paint in layers.
- Experiment with techniques like pouring, color blocking, or splattering.
Abstract art is a great way to express creativity without following strict guidelines. Just let your imagination flow!
2. Fabric Wall Hanging
Materials Needed:
- Fabric scraps
- Embroidery hoop or wooden dowels
- Yarn or macramé cord
Steps:
- Cut fabric into different shapes or strips.
- Attach the fabric to an embroidery hoop or wooden dowel.
- Use yarn or macramé knots to add texture.
3. Framed Botanical Prints
Materials Needed:
- Pressed flowers or printed botanical illustrations
- Glass frames
- Glue or tape
Steps:
- Press real flowers between book pages for a few days.
- Arrange them on paper or directly in a glass frame.
- Seal the frame and hang your botanical masterpiece.
This is a beautiful way to bring nature indoors and add a touch of elegance.
4. DIY Geometric Wall Art
Materials Needed:
- Wooden panels or canvas
- Painter’s tape
- Acrylic paint
Steps:
- Use painter’s tape to create geometric patterns.
- Paint over the taped areas with your chosen colors.
- Remove the tape once the paint is dry for a clean, modern design.
5. Decorative Wall Shelves
Materials Needed:
- Wooden planks
- Brackets
- Drill and screws
Steps:
- Measure and mark where you want your shelves.
- Drill the brackets into the wall securely.
- Place the wooden plank on top and secure it.
6. Textured Wall Art with Spackle
Materials Needed:
- Canvas
- Spackle or plaster
- Putty knife
Steps:
- Spread spackle over the canvas using a putty knife.
- Create abstract patterns or textures.
- Let it dry before painting or sealing.
Perfect for adding a modern, sculptural look to your walls!
7. Shadow Box Art
Materials Needed:
- Shadow boxes
- Small decorative items
- Glue
Steps:
- Arrange decorative items inside the shadow box.
- Secure them with glue if needed.
- Hang your custom display.
8. Washi Tape Wall Designs
Materials Needed:
- Washi tape in various colors
Steps:
- Plan your design on paper.
- Apply the washi tape directly to the wall.
- Experiment with shapes, lines, or murals.
Great for renters since washi tape can be easily removed!
9. DIY Wooden Sign Art
Materials Needed:
- Wooden boards
- Paint or markers
- Stencils
Steps:
- Sand and paint the wooden board.
- Use stencils to create your design.
- Seal with a protective finish.
10. Upcycled Frame Gallery Wall
Materials Needed:
- Thrifted frames
- Spray paint
- Photos or artwork
Steps:
- Spray paint the frames for a cohesive look.
- Arrange them on the floor to plan your layout.
- Hang them using nails or adhesive strips.
Conclusion
DIY wall art is a fantastic way to personalize your space and unleash creativity. Whether you prefer minimal designs or bold statement pieces, these projects will help transform your walls with ease!
One of the biggest advantages of DIY home decor is that it allows you to express your personality while also being budget-friendly. Store-bought wall art can be expensive, and sometimes it doesn’t quite match your vision. By creating your own, you have complete control over the colors, materials, and themes, ensuring that each piece complements your home perfectly.
If you're new to crafting, start with a simple project like washi tape designs or framed botanical prints, then work your way up to more detailed projects like textured wall art or macramé wall hangings. Remember, the key to great DIY wall decor is creativity, patience, and a willingness to experiment!
So, what are you waiting for? Gather your supplies, pick a project, and start crafting today. Your walls will thank you!


